I recently repaired a rotted window sash at my own home, and I’m not sure if it was a good use of my time. Today I’ll share the process for repairing a damaged window sash. This isn’t meant to be a full “how-to”, but rather a discussion about repair versus replacement.
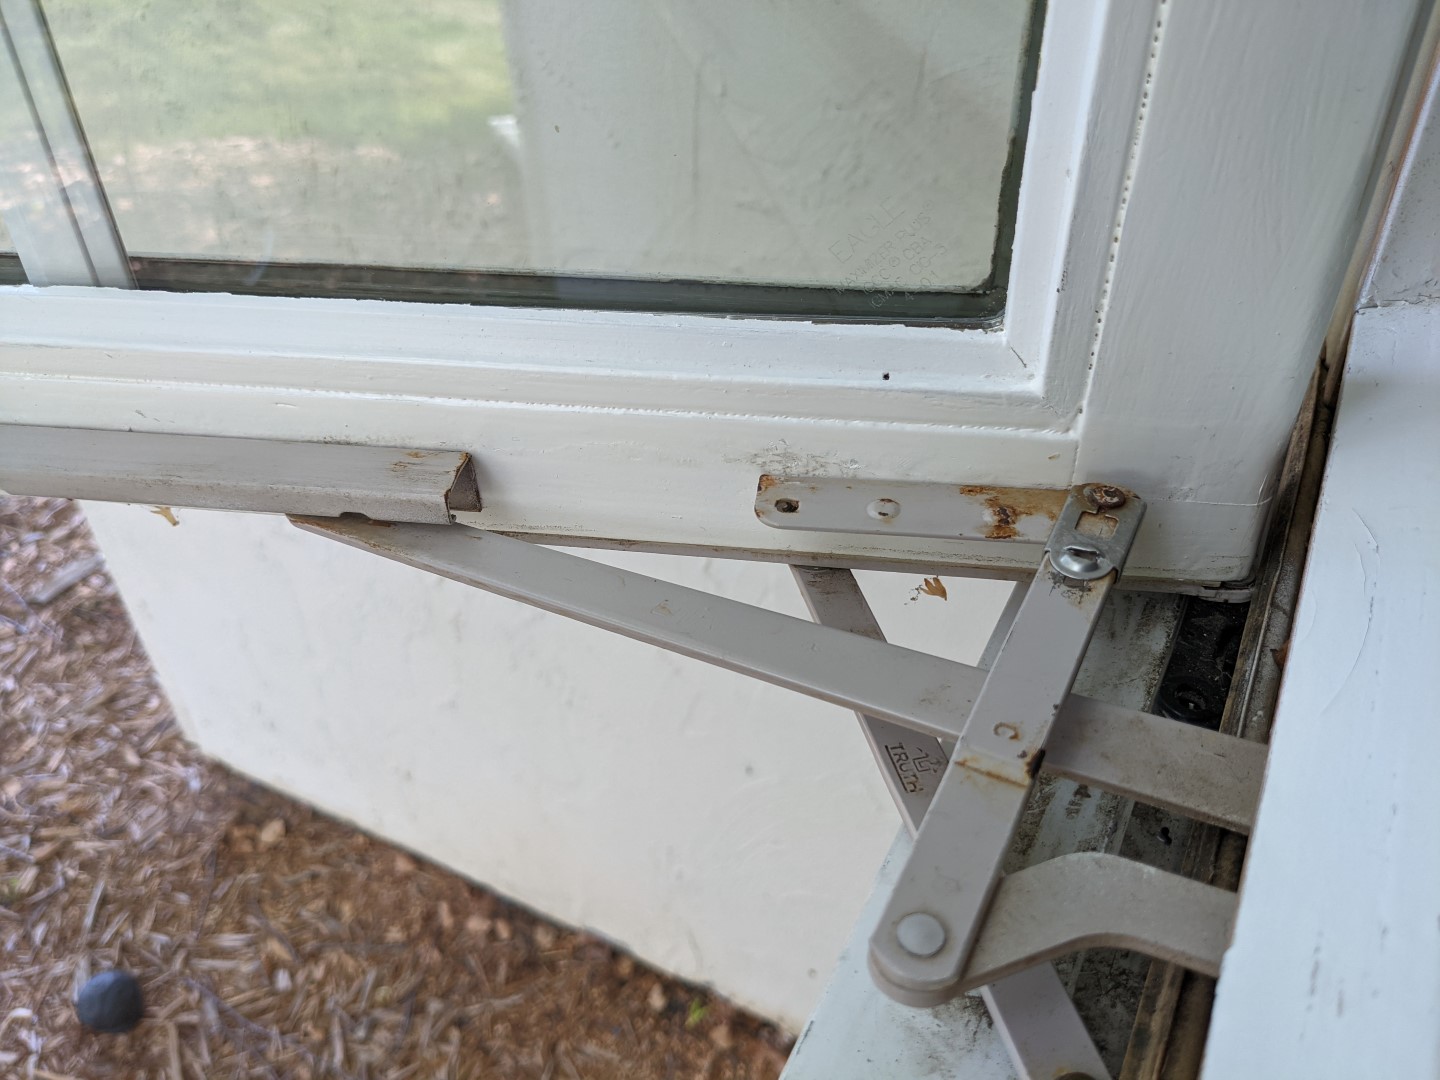
As home inspectors, we frequently recommend the repair or replacement of various damaged and rotted components of a home. Which is better, repair or replacement? It depends on how much work is involved and what the cost of the labor to fix something would be, versus simply replacing the component. I have a 26″ x 70″ window sash in my office that had some rotting wood at the bottom. It’s a casement window (crank-out), and the screws that held the hardware in place were no longer holding, so I used larger screws. That bought me a small amount of time, maybe another year or so, but it kept getting worse. This summer, it got to the point where the hardware actually pulled out of the bottom of the sash. Time for repair or replacement.
Because this was such a large sash and it was nearly 20 years old, I assumed it would be difficult to find a replacement. And even if I could find a replacement, it would probably be quite expensive. I didn’t want to spend my time calling around to find a replacement sash, so I decided to fix it myself. After all, I already have all of the tools at my house for this kind of project. Might as well put them to use.
The Repair
I started my repair project by removing the sash from the window opening, and then covered the window opening with a ton of poly sheeting and duct tape. I knew this project would take several days to complete, so I had to do something to keep the rain out. For a short video showing how to remove the sash on a casement window, check out https://youtu.be/_BeU7heq23g.
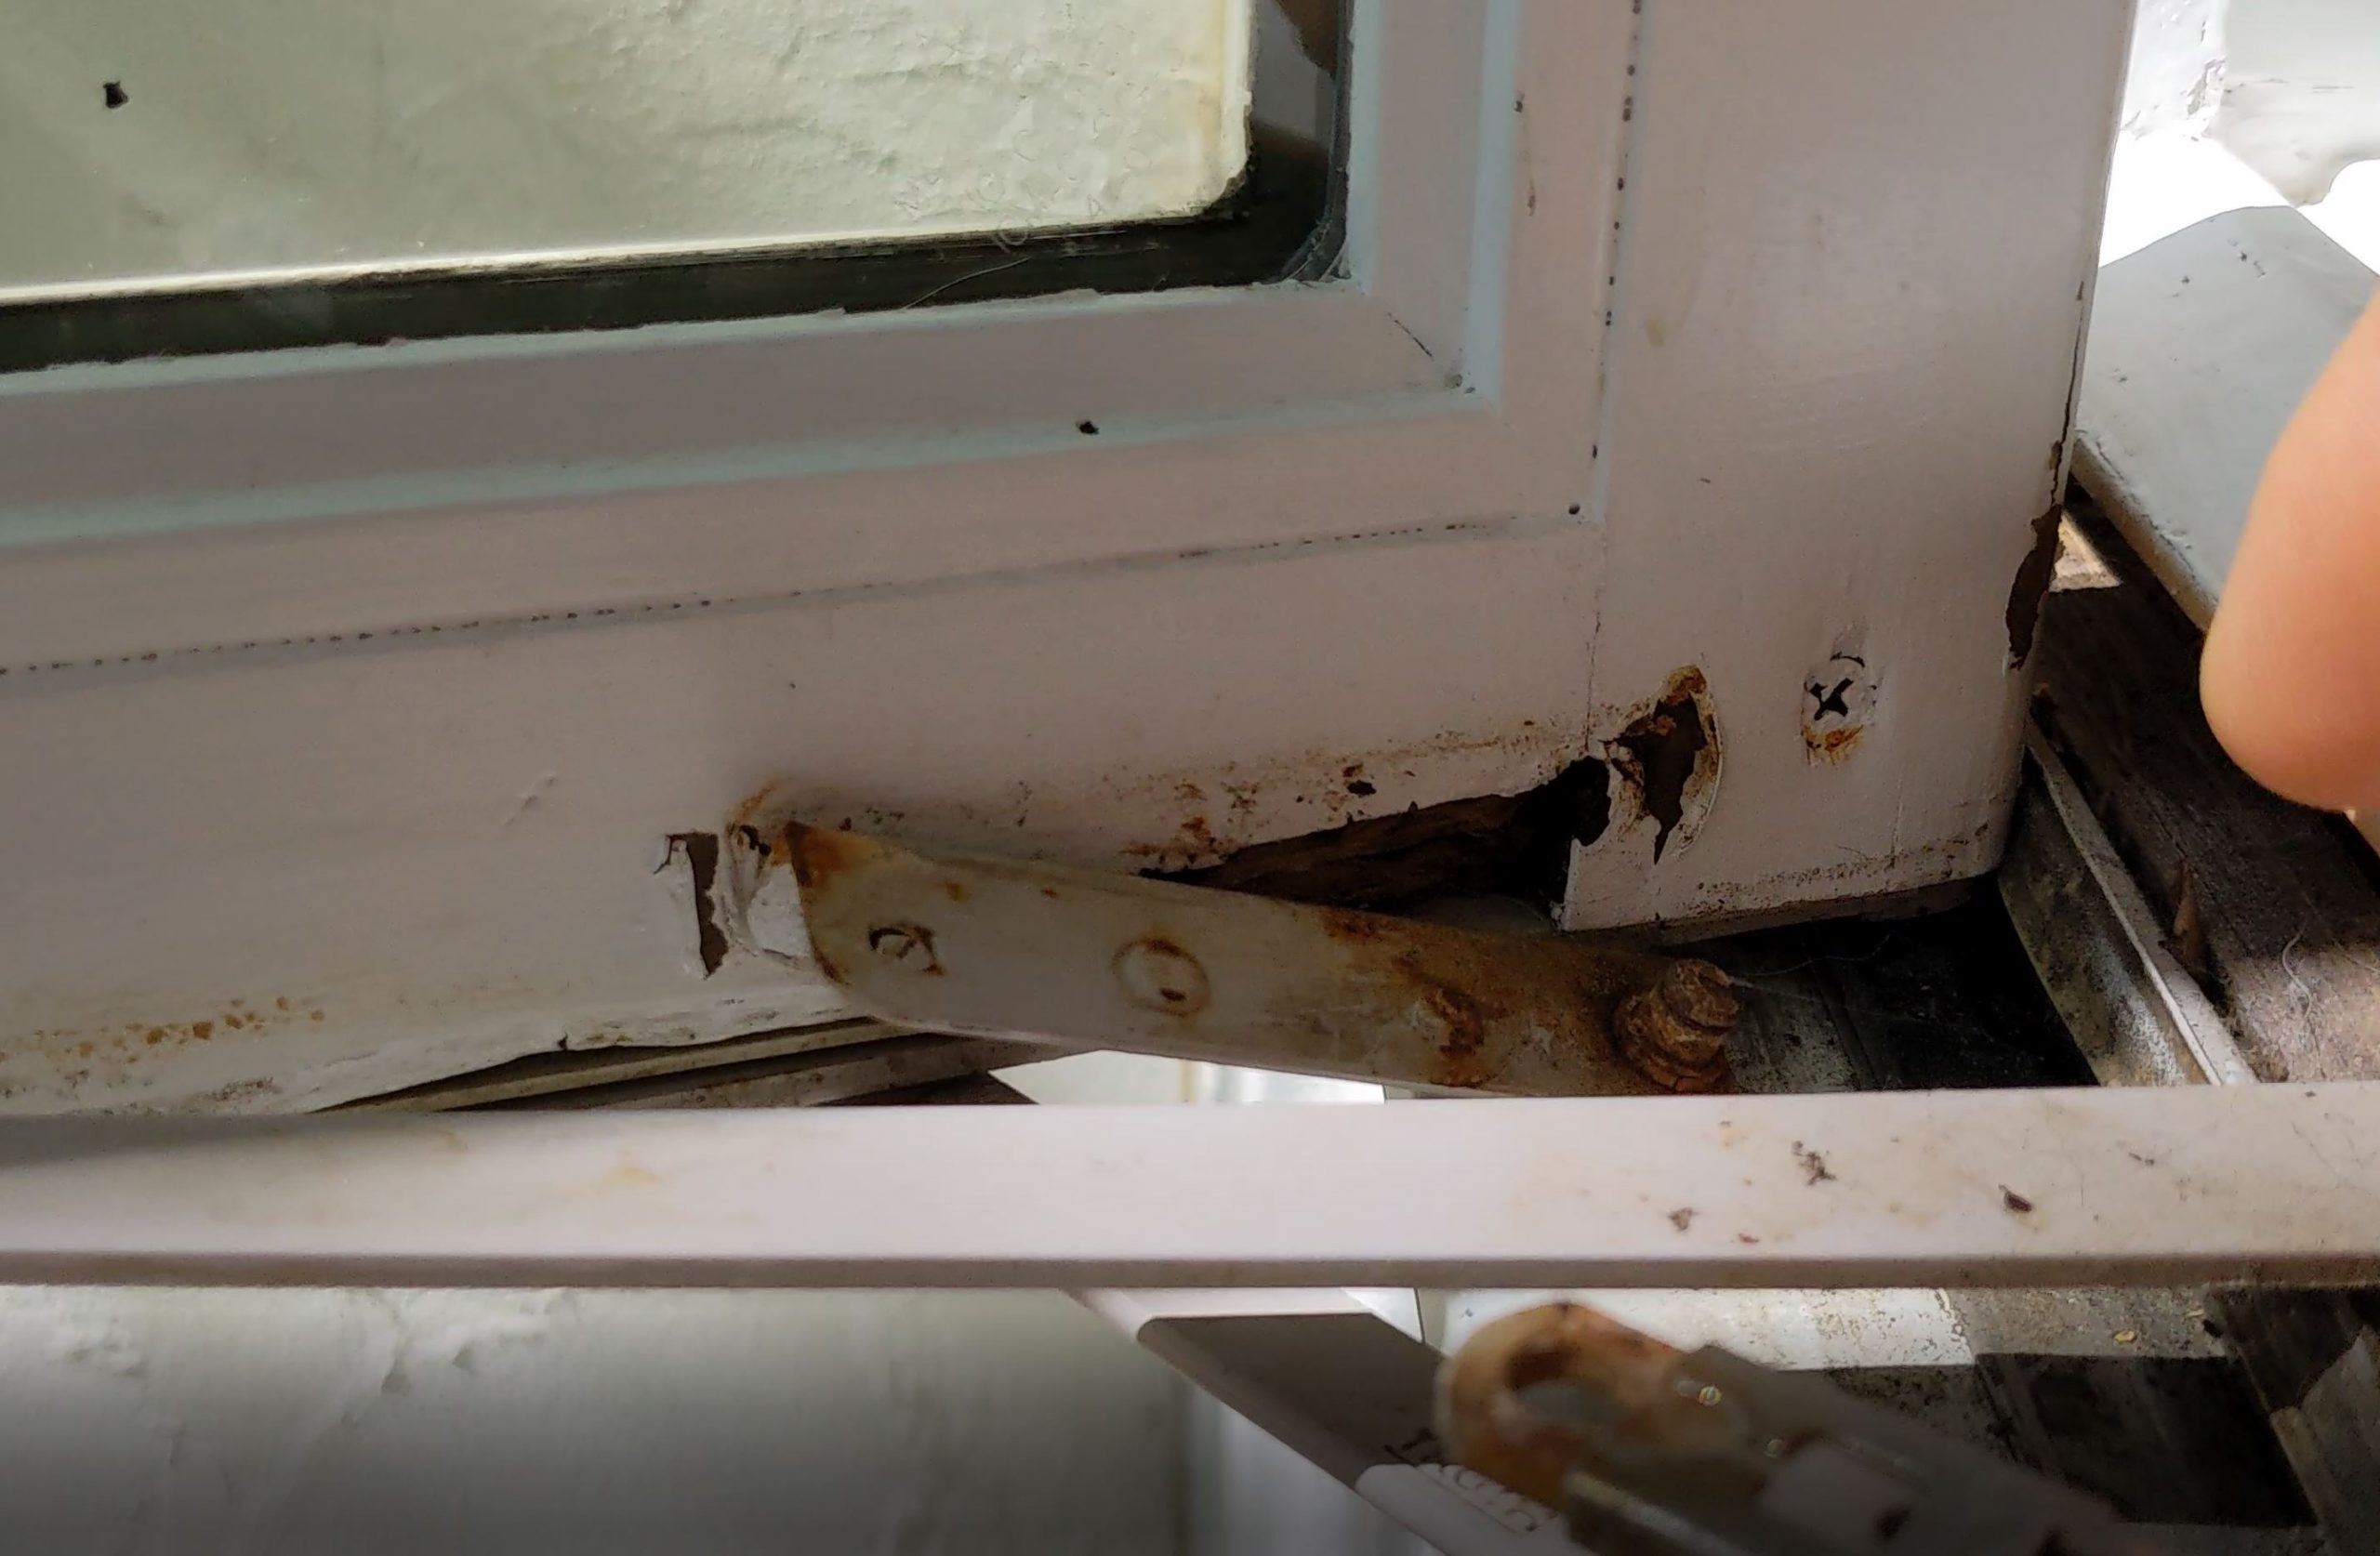
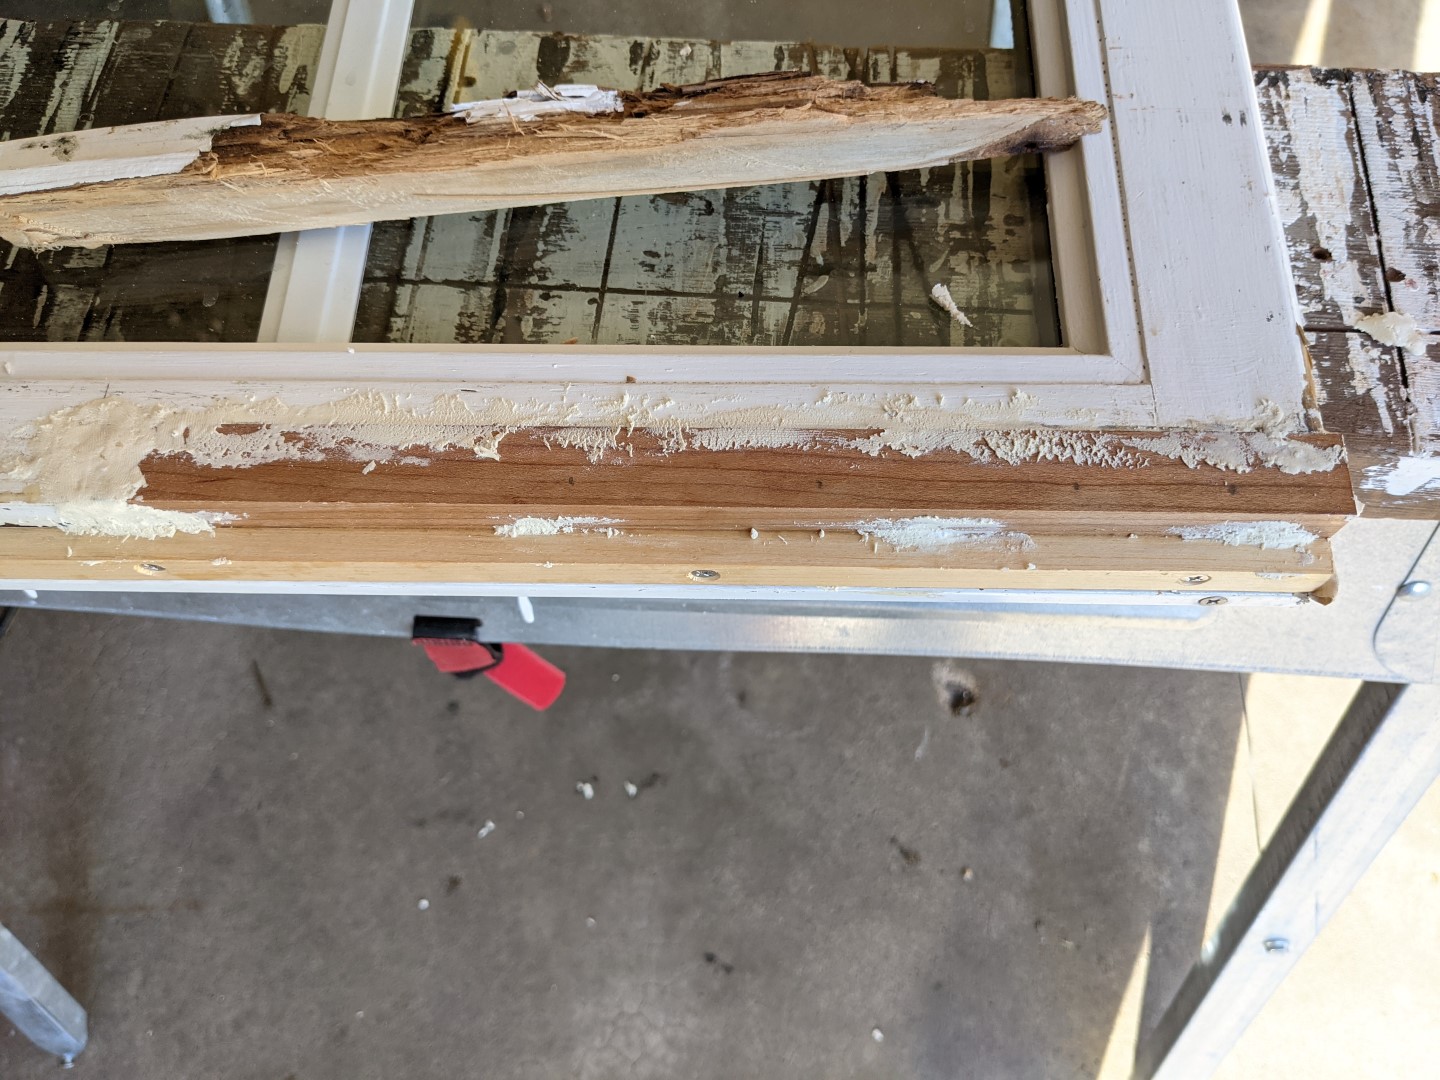
Once I had the sash out, I removed all of the hardware. The bottom of the window was in much worse condition than I had originally thought.

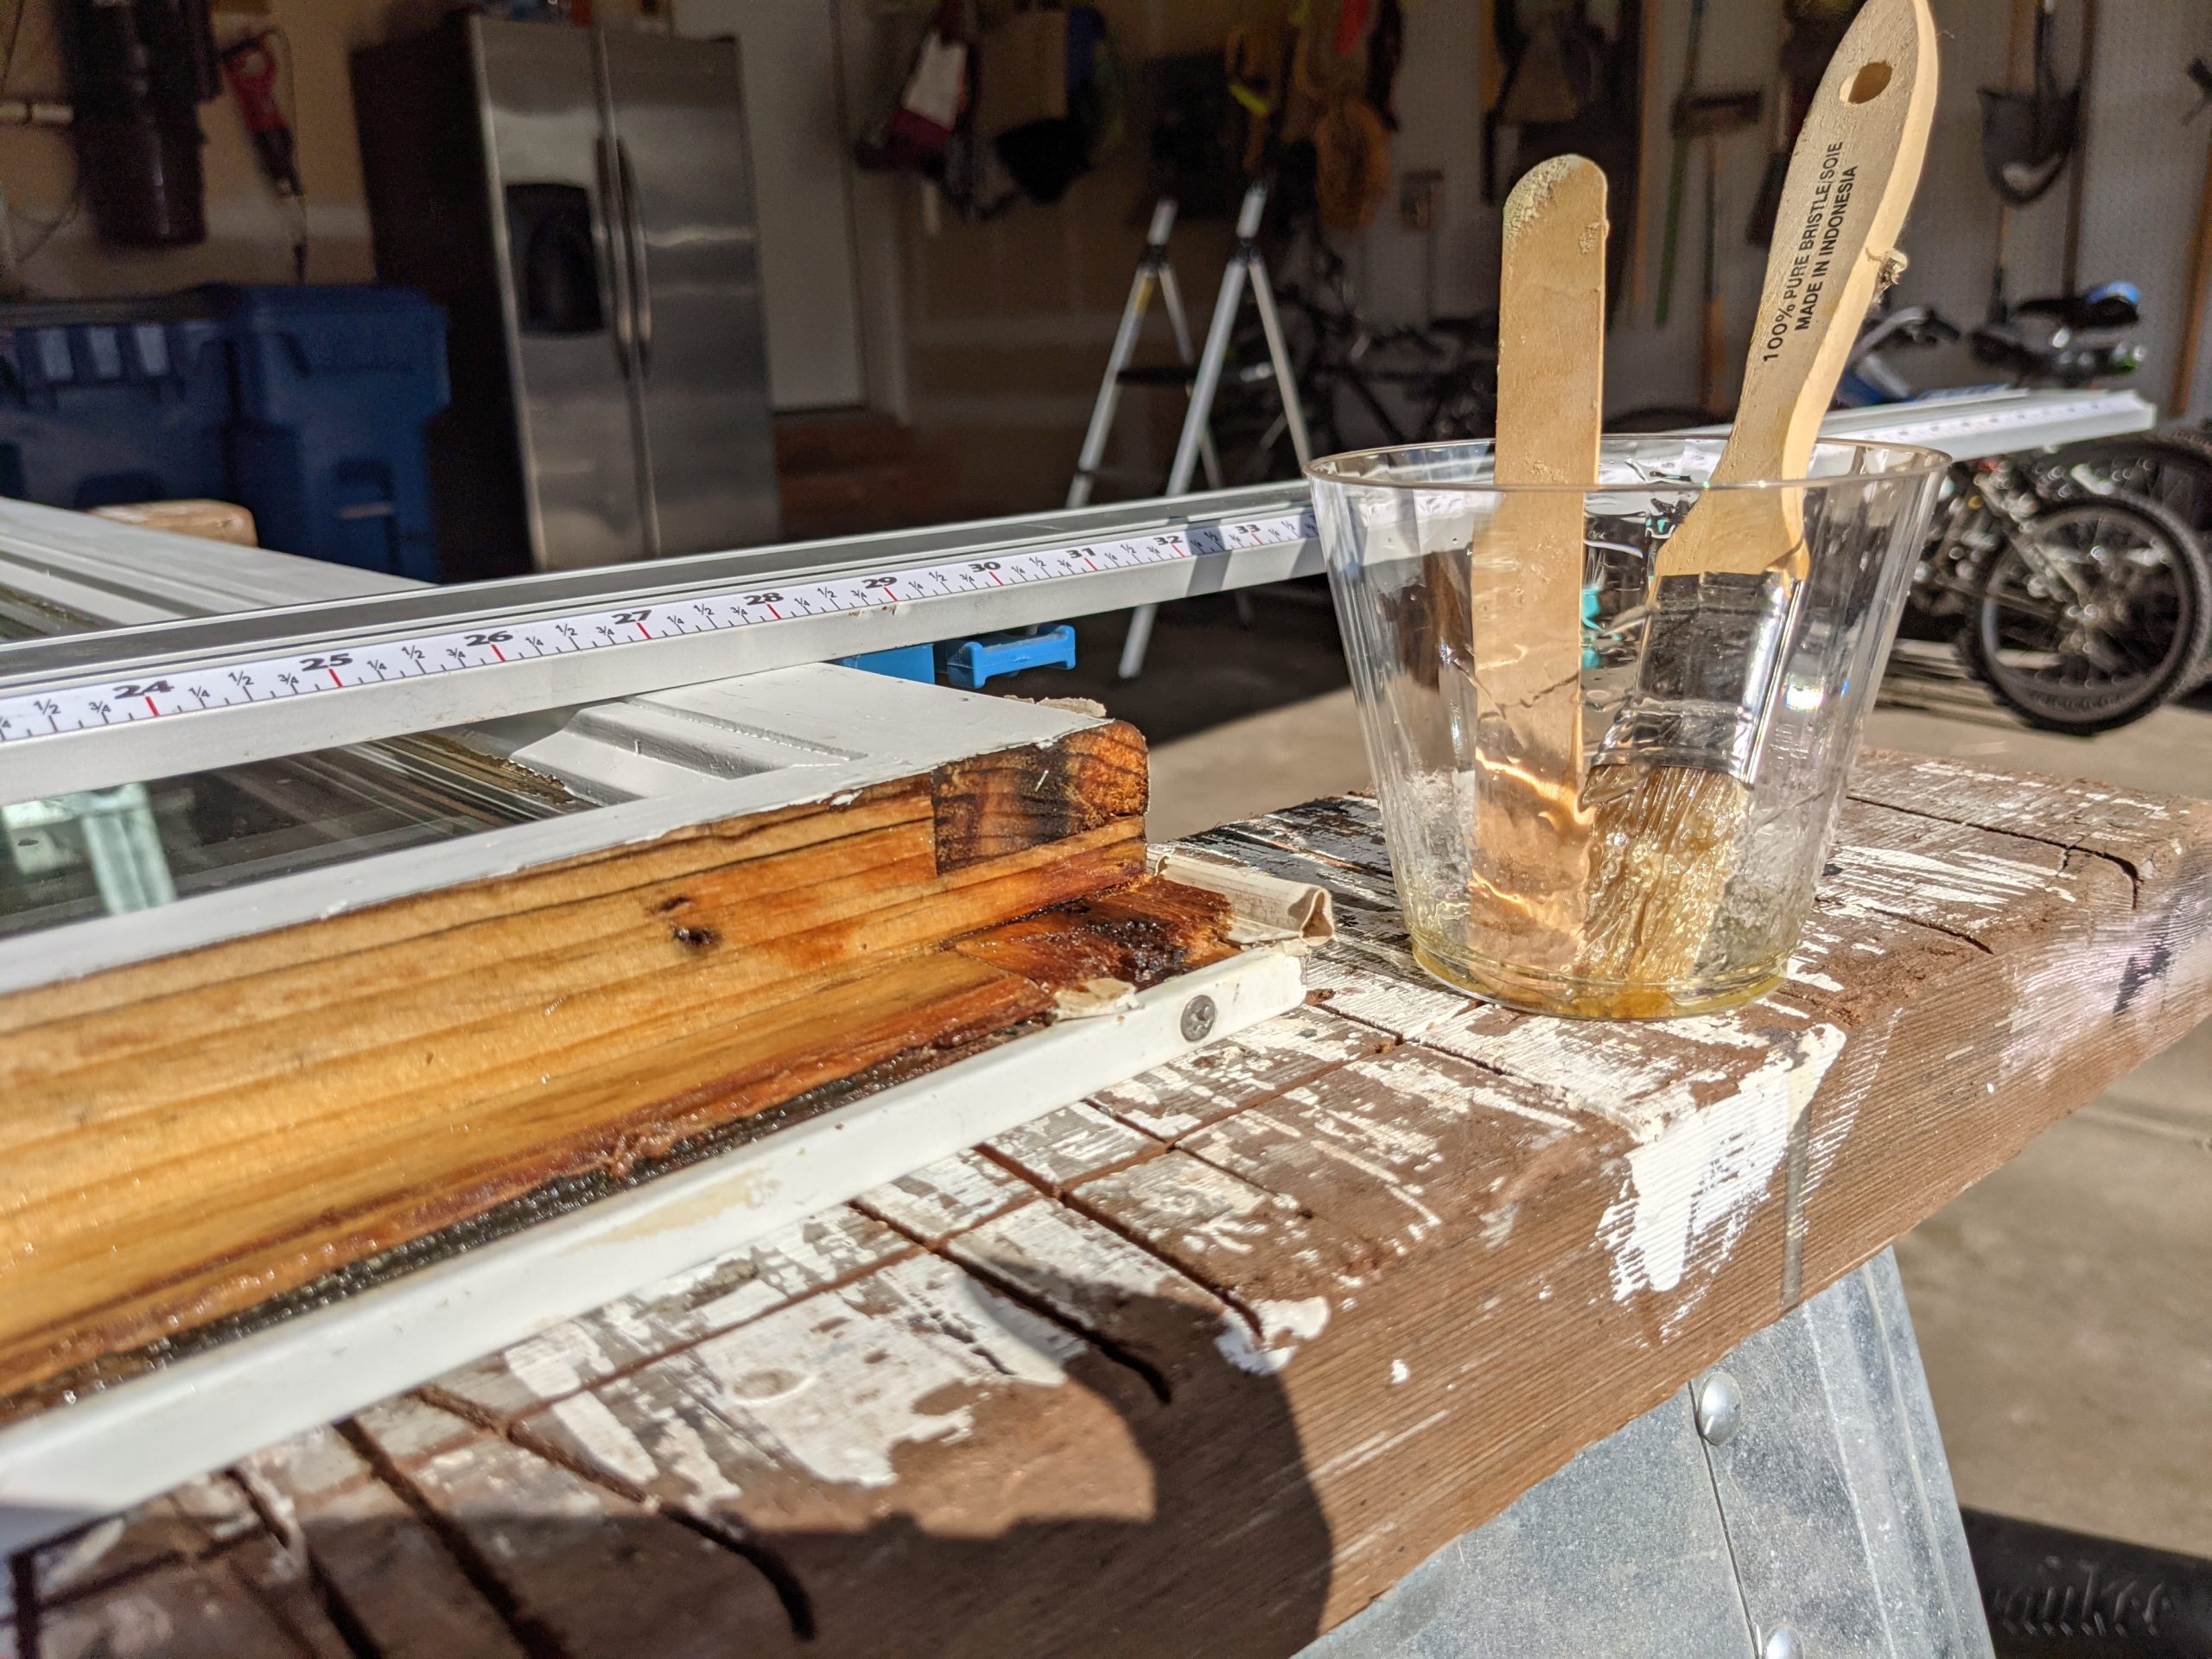
Ew, right? I used a circular saw and a multi-tool to cut out a block of rotted wood from the bottom of the window. I used a clamping straight edge and various jigs to ensure straight cuts. The setup for these cuts probably took me an hour, while the cuts themselves took about 30 seconds apiece. Once I cut out the rotted wood, I used LiquidWood® to treat the exposed wood surfaces. This product is a two-part penetrating epoxy that turns soft, rotted wood into solid steel. Or something like that. I’ve used it before on other similar projects, and I’ve been very happy with the results. If you coat your wood with this stuff, you’ll never have to worry about it rotting again.
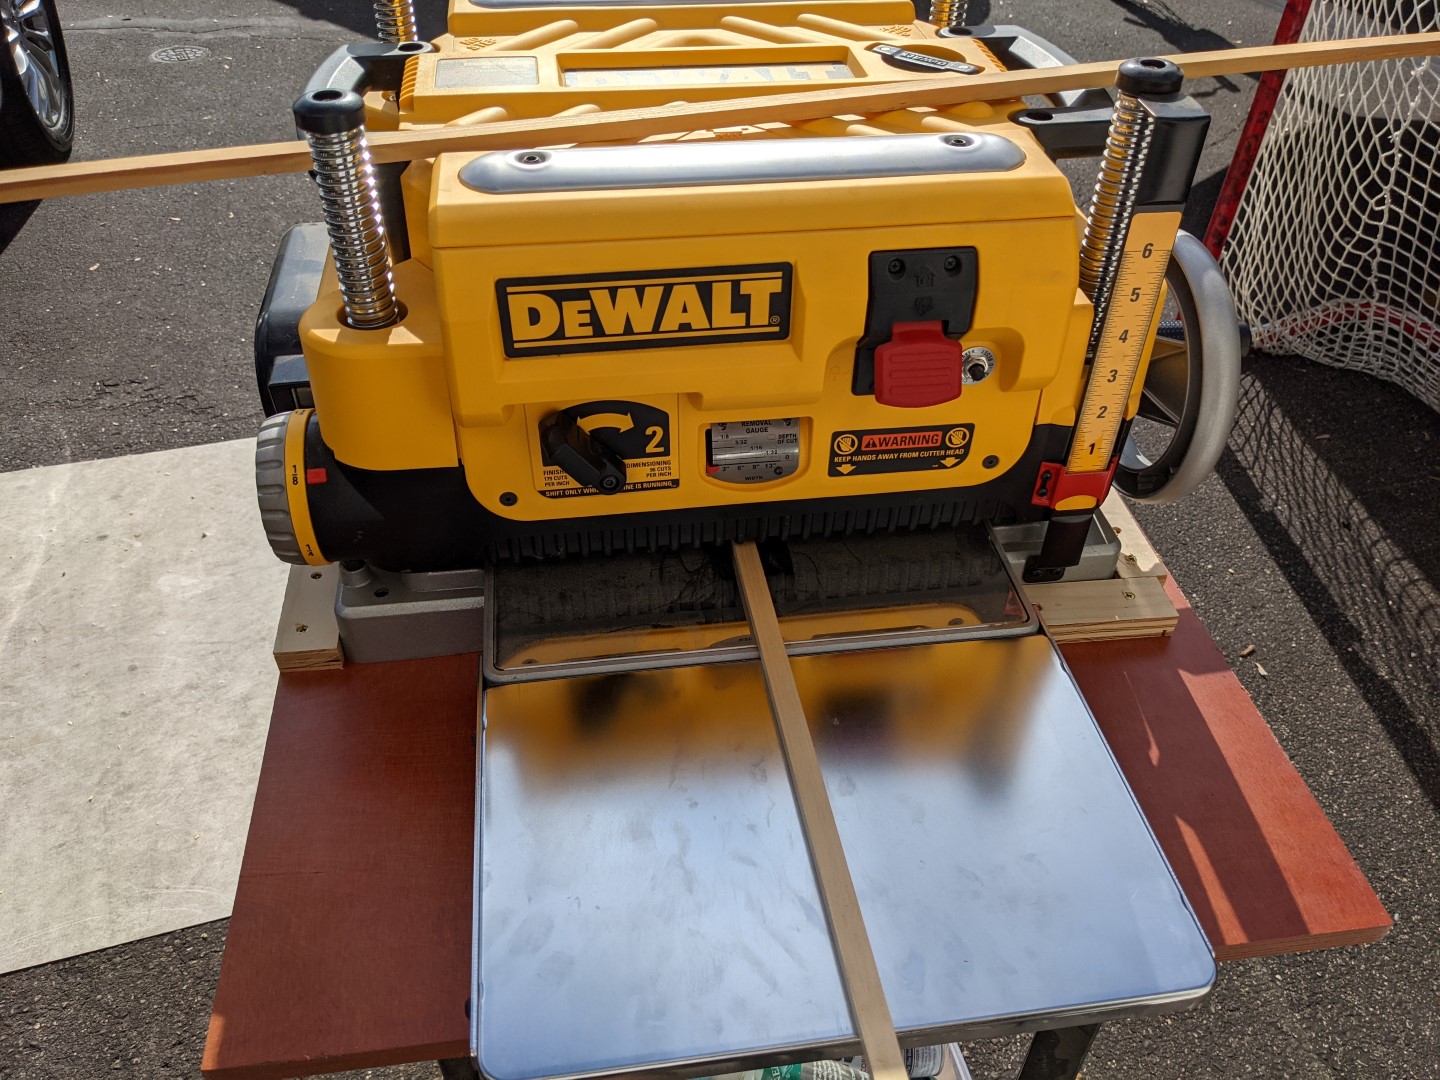
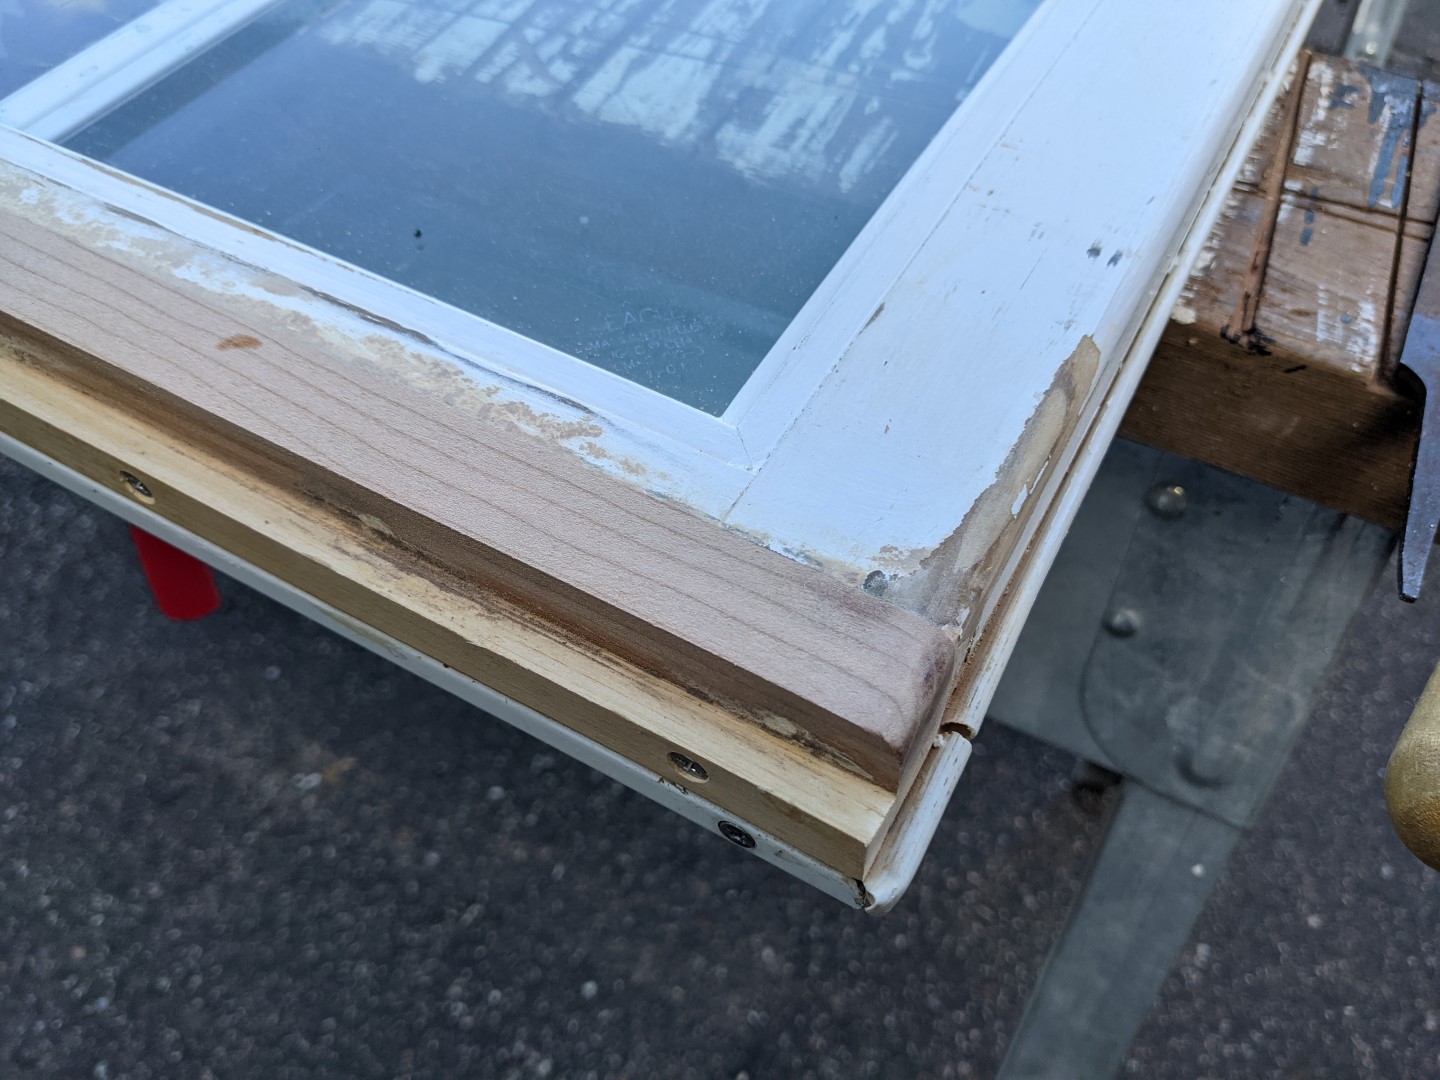
Next, I used a table saw and a planer to mill a couple of new wood pieces to the proper size. I could have gotten away with only using a table saw, but the planer really gets a precise, smooth edge on the wood.
Day 2
I let the wood hardener set overnight, then started putting stuff back together the next day. For this part, I used wood glue and stainless steel screws to fasten the new pieces of wood into place. I pre-drilled my screw holes and used a countersink for the screw heads to make sure they’d be hidden.
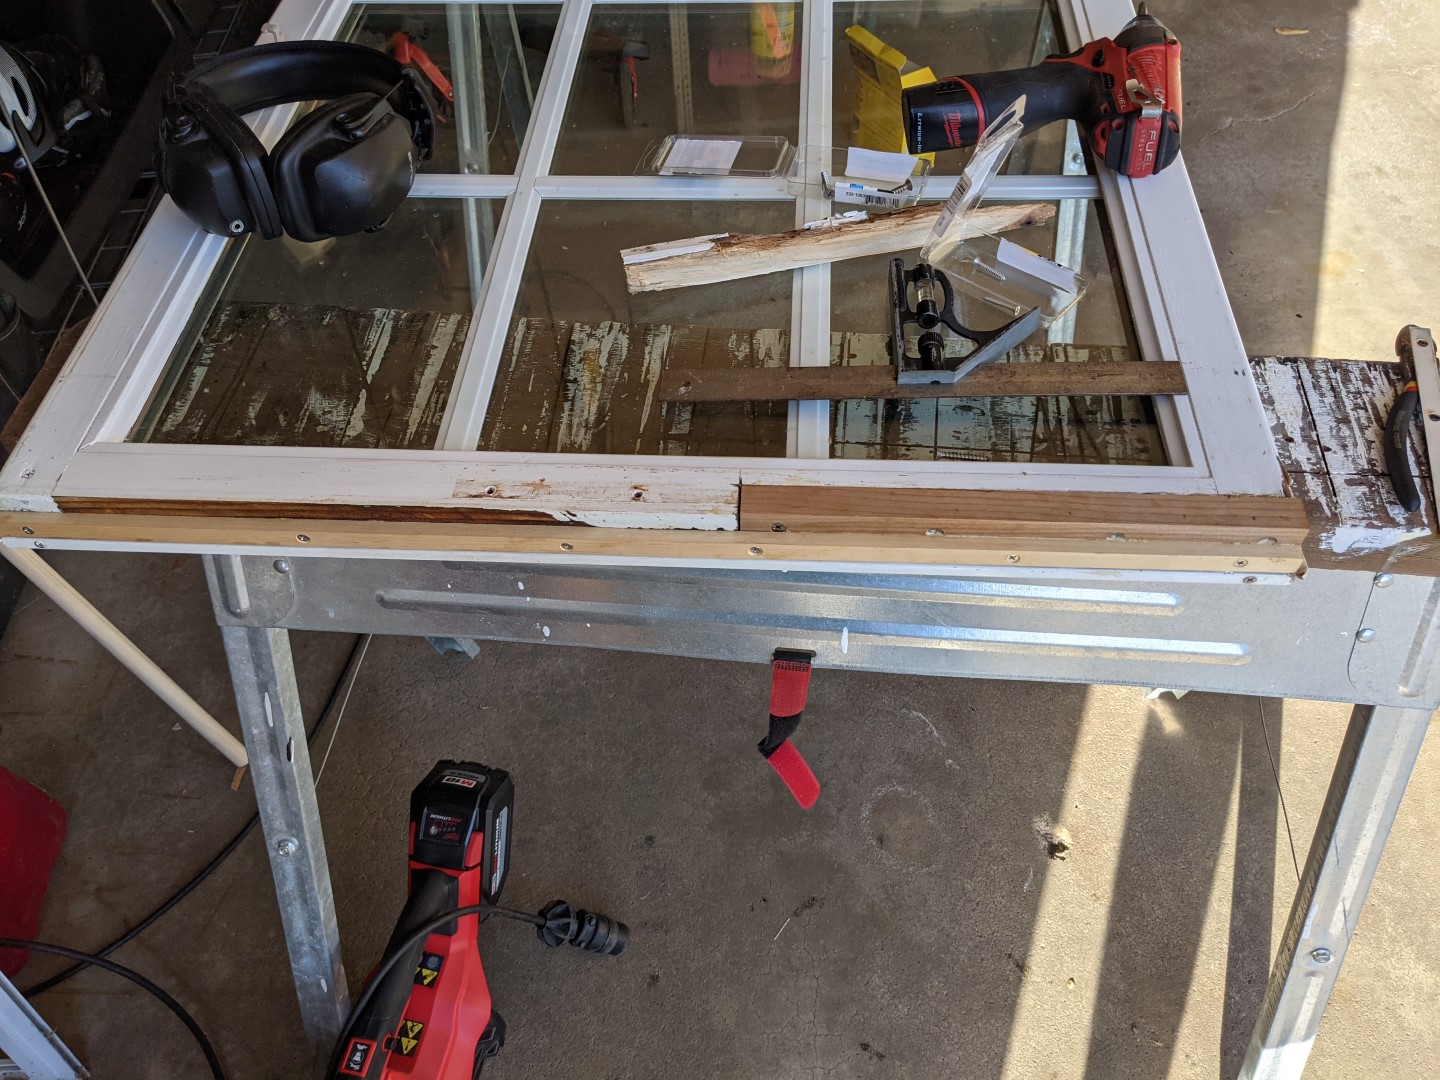
Next, I used WoodEpox® to fill all of the gaps in my wood. WoodEpox® is a two-part epoxy that’s meant just for this kind of thing. I knew I’d have a bunch of sanding to do when it was all said and done, so I wasn’t stingy with it.
Day 3
After letting the WoodEpox set overnight, I went to town with a random orbital sander to get everything nice and smooth. I sanded the corners of the new wood down to match the profile of the rest of the window, and I used a corner-cat sander and a file for some of the more tough-to-reach areas.
With the sanding completed, I put a couple of coats of paint on all of the new wood. One in the morning, one in the evening.
Day 4
On the final day of this project, I reattached the window hardware. I used a self-centering drill bit to make sure that my pilot holes were perfectly aligned with the hardware.
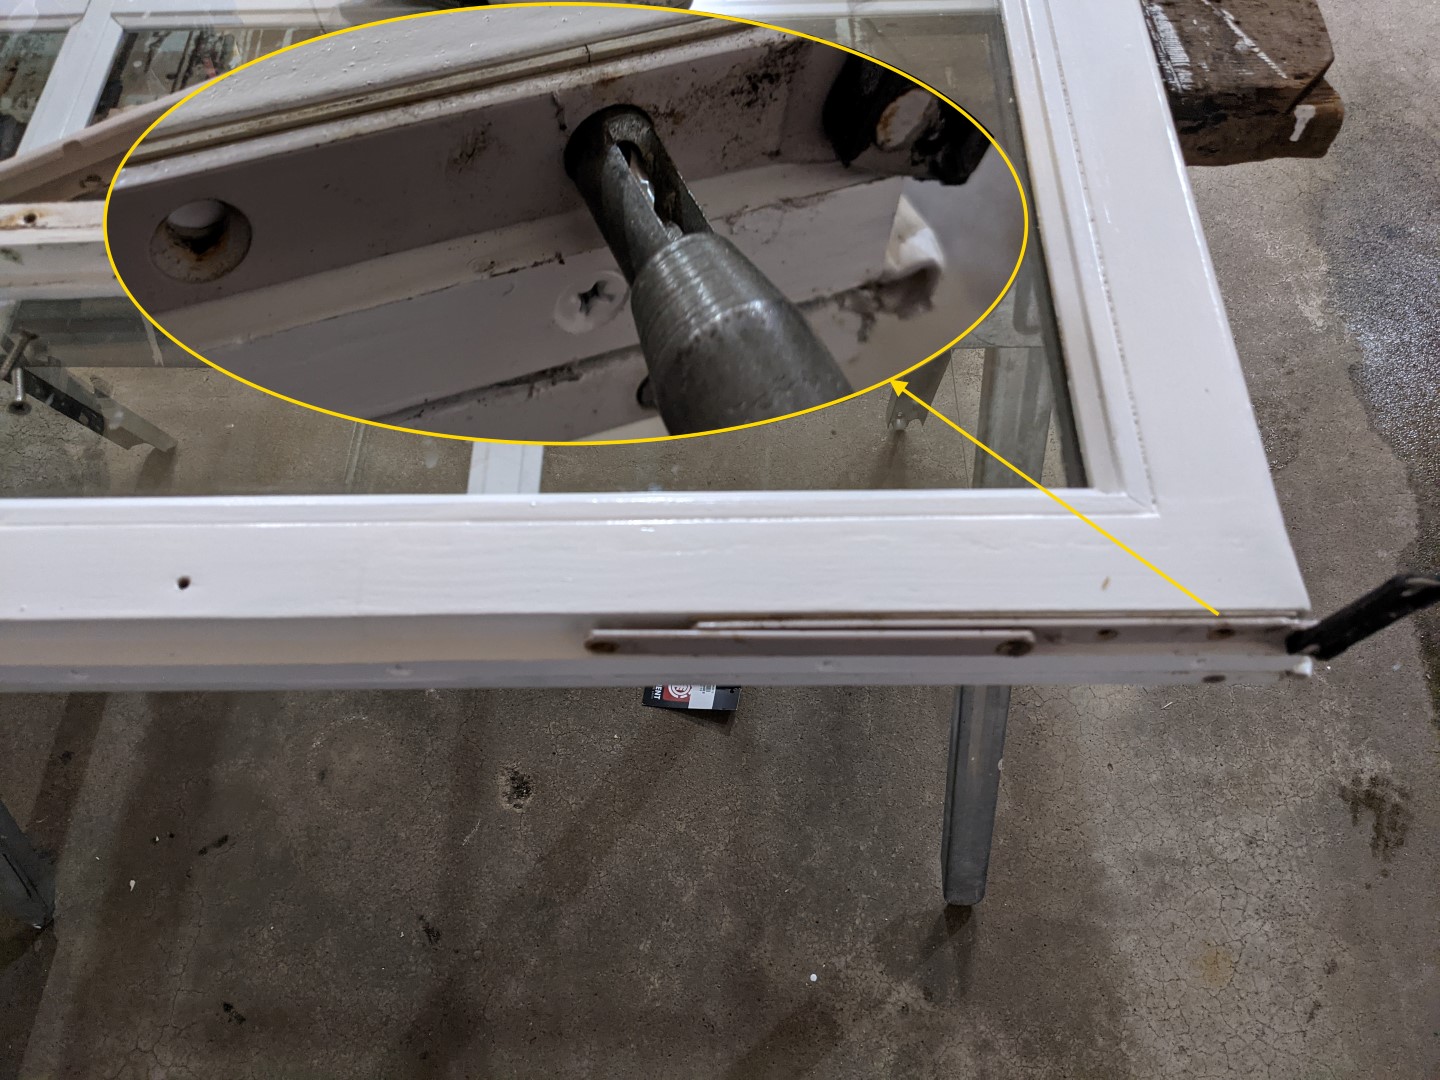
With that completed, I put the sash back into place in the window opening. It fit like a glove, and you have to look very carefully to see that this isn’t all original material.
Conclusion
So was this worth my time? I’m not sure. I probably spent five to six hours on this repair, so it definitely wasn’t a quick and easy project. It made sense for me to do it because I live here and I have the right tools at my disposal. Not only that, but I enjoy these types of projects… at my own house. But if I had to hire this project out? No way. It would have been far better to simply order a replacement sash, assuming I could find one, and have a contractor pop it in.
This is why we, as home inspectors, try to leave it up to the contractor doing the work to decide on either repair or replacement.