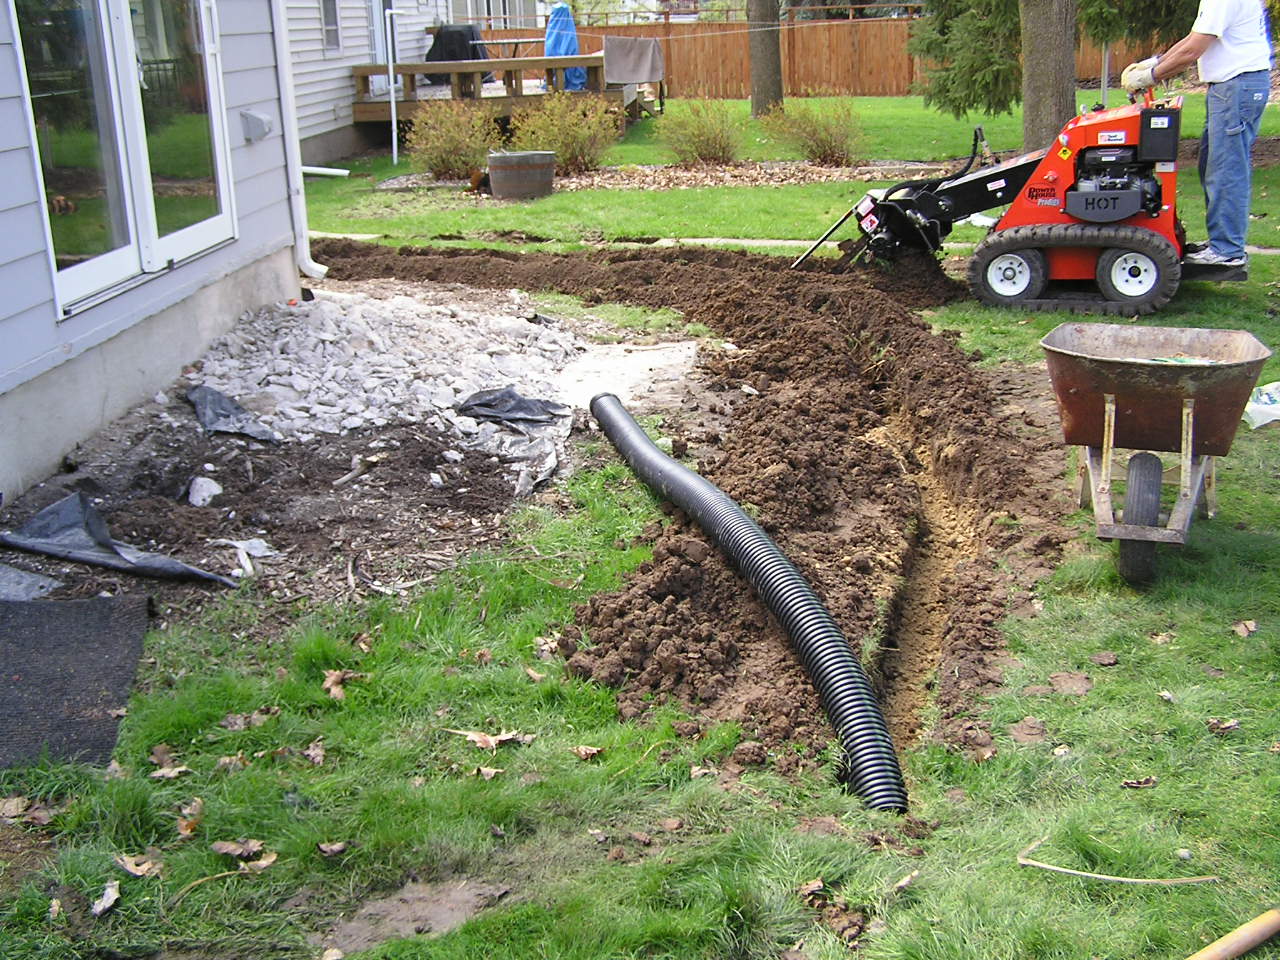
I rented a trenching machine the first time I had to dig a trench in my yard, and it made digging the trench a piece of cake. The entire trench that I needed was completed in a matter of about 15 minutes, and all with very little effort on my part. There’s nothing like having the right tool for the job, right?
Side note: the machine shown above is actually called a Power House Prodigy multi tool. It has several other tools that it can operate, including a post-hole digger and a bucket loader. For the project shown above I was installing a yard drain to take surface rainwater from a low spot in my back yard all the way around to the front yard, where it could drain down a hill and eventually make its way to the city sewer storm sewers. That’s my dad driving the machine.
The downside to using a trenching machine on a lawn is that it’s like using a chainsaw to do surgery; you’re going to have a huge scar. It took me the rest of the summer to get new grass to fill in the scar left by that trenching machine, and probably another year or two before there wasn’t a big obvious line of different grass in my yard. Part of that was surely due to my lack of a green thumb, but that’s beside the point.
I’ve figured out a much better way to make trenches in the yard. I’ve explained this process to so many people that I’m finally just writing down the instructions to make it easy. This is a far more time-consuming process than using a trenching machine, but I think it’s worth the effort.
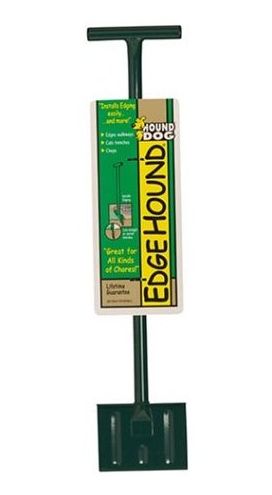 You’ll need the following items:
- A trenching shovel
- An Edge Hound (shown at right) or a shovel with a similar shape.
- Several big plastic bins
Any time you’re digging in the yard, it’s a good idea to call 811 a few days ahead to get your yard marked for utilities. Once your yard has been marked, figure out where you want the trench and mark it. If you want a straight line, tie a string between two stakes. If you really want to get fancy you could use spray paint. Once the marking is done, use your Edge Hound or flat shovel to cut a single straight line in your grass along the path of the future trench. This is the easy part.
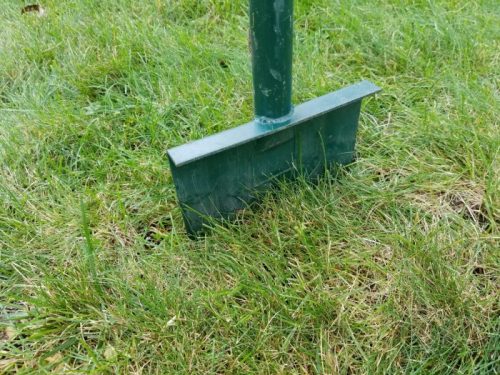
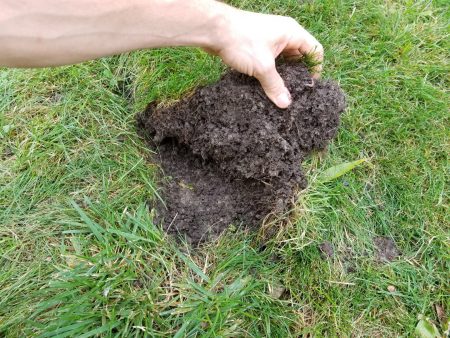
Next, use the edging tool to undercut the sod along the entire cut line, and then fold the sod over as shown below.
Now the tedious part. Take your trenching shovel and remove the soil, and place the removed soil into plastic bins all along your trench. This makes replacing the soil far easier and prevents your yard from being turned into a big mess.
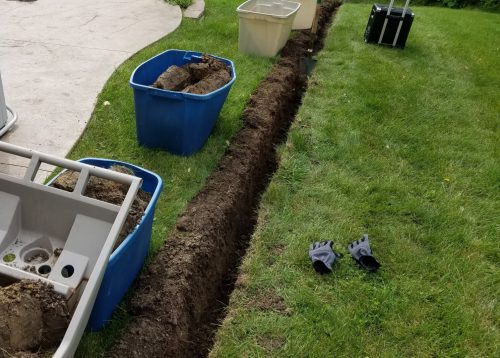
Once the trench has been dug, you can lay down whatever you dug the trench for. Presumably, it’s for a yard drain like the kind shown at the beginning of this blog post. Once that part is done, use the plastic bins to pour the soil back into place, stomping it down all the while. Just remember to leave a little room for the sod; if you try to get all of the dirt back into place, you’ll have a huge hump in your yard. You’ll surely end up with extra dirt, as it’s impossible to get it compacted as well as it had been previous to the dig.
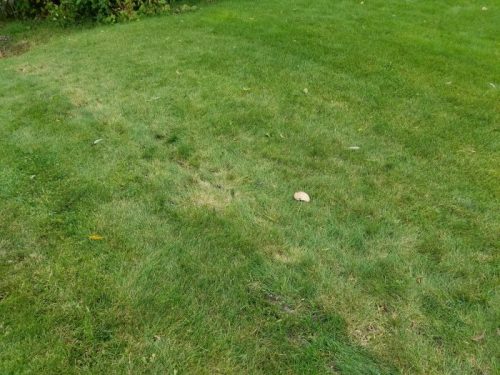
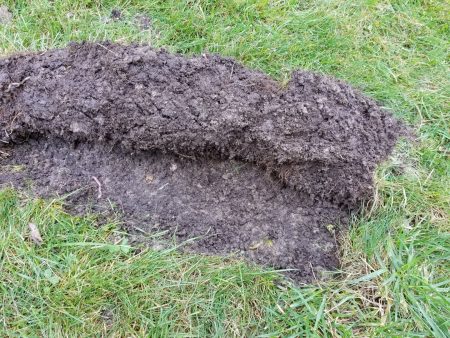
Once all the dirt is replaced, simply fold your sod back over the top and push it down into place. That’s it, that’s all. Your yard will heal from this gentle surgery quite quickly, but a little extra watering probably won’t hurt. The photo below shows a post-surgery scar in my yard immediately after digging a trench.

Kevin Wright
September 13, 2016, 6:16 am
Some good lessons learned. Patience and the fact that the quick way is not always the best..
I am in the plumbing business and i can tell you many plumber could do with this advice… ha ha.
Thanks for sharing.
Reuben Saltzman
September 14, 2016, 12:33 pm
Thanks Kevin!
Jeff
September 14, 2016, 9:54 am
you should be a surgeon, Reuben! I have done pretty much the same thing, only just used a tarp laid on the ground for the soil, right next to the trench, instead of bins. Don’t have to lift the dirt as much. Thanks for your blog.
Reuben Saltzman
September 14, 2016, 12:33 pm
Thanks Jeff, great idea with the tarps. I’ll try that next.