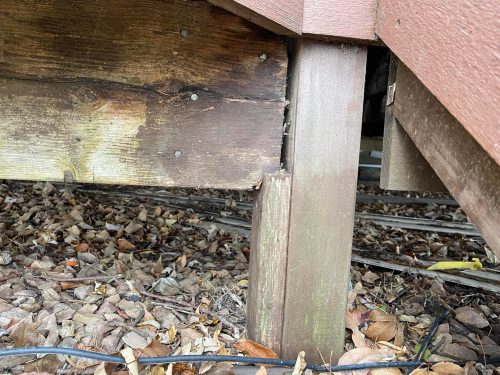
Today I’d like to draw attention to a little-known section of the building code related to making cuts in treated lumber. Every time you cut or drill through treated lumber, you need to re-treat it.
Insert long, dramatic pause. Yep, you read that right. I think most people who work with treated lumber either aren’t aware of this requirement or they ignore it. This requirement comes from section R317.1.1 of the International Residential Code. It says “Field-cut ends, notches and drilled holes of preservative-treated wood shall be treated in the field in accordance with AWPA M4.” Check out https://awpa.com/info/technical/codes for more info on this standard. The reason for this is that cut edges of lumber may not have any protection from pressure treatment. As any seasoned home inspector knows, the end grains of lumber are always the first to decay.
I decided to educate myself a little about the requirements for field-treatment of lumber, and I’ve found them to be onerous.
Get the right product
To field treat cut lumber, you need to purchase the right product. AWPA M4 recommends a product containing at least 2% copper metal. There are several products sold in stores in my area that appear to meet this requirement. For example, Copper-Green® Wood Preservative contains 10% copper naphthenate, so we should be good, right? No, that’s not the same as copper metal. It actually contains the equivalent of 1.18% copper metal.
But maybe this is acceptable? I have an old version of AWPA M4, which says you can use copper naphthenate preservatives with a minimum of 1.0% copper metal in regions of the country where the higher concentration is not available. In short, you were allowed to use the lower concentration stuff if that’s all you can find. This stuff sells for about $20 – $40 per gallon. Is that what the current version of AWPA M4 allows? I don’t know, and I don’t have access to that standard. It costs $40, and I’m not going to purchase it to find out.
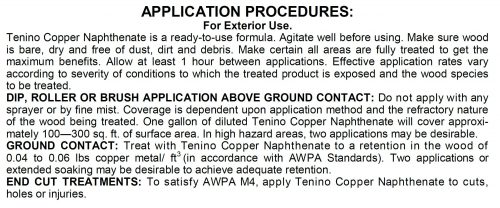
If you want to play it safe and use the best stuff, AWPA recommends Tenino, which sells online for $32/gallon plus a significant shipping charge.
Treat your cuts
Now that you have the right product, you need to follow the instructions. If you use Tenino, the instructions are pretty simple and straightforward. You simply dip the cut edges, brush them, or use a roller to apply Tenino. No big deal.
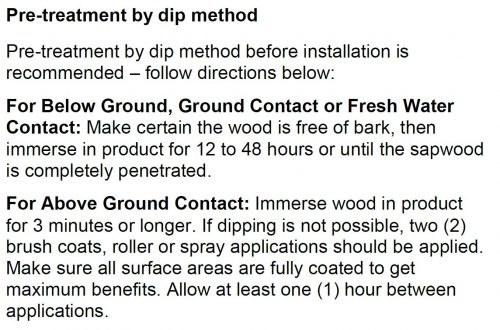
But if you use one of the other products found at hardware stores and big-box retail stores, the requirements get pretty crazy. Check out these instructions from Woodlife:
If you have wood that will be in contact with the ground, you need to immerse it for 12 to 48 hours. If the wood will be above ground, you need to immerse your cut edges for at least 3 minutes or apply two brush coats with an hour in-between coats. Just let that soak in for a minute.
WHO DOES THIS? I’ll tell you: nobody.
So we have a requirement in the building code to follow a standard, but we don’t have access to the standard without buying it. The standard probably says to use a product that isn’t readily available, and we have inferior products available that seem like they might do the job, but the instructions are pretty much impossible to follow. Sigh.
Don’t get mad at me, I’m just the messenger. So as a home inspector, what am I supposed to do with this information? Just be aware that cut lumber ends will fail first, which we already know. I’ve always paid close attention to cut edges of lumber for signs of decay, and this information will only serve to reinforce that.


Bethany
March 16, 2022, 2:40 pm
“What?!” …. lower jaw dangles open
(thank God it’s not mosquito season)
Doug
March 22, 2022, 7:13 pm
If the cut end won’t be seen, I usually spray it with a spray can of primer. Maybe not as effective as Tenino, but quick, cheap, and slows the absorption of moisture.